Pages

Showing posts with label Upcycle. Show all posts

Friday, September 23, 2016

Something old to something new

Project number five for September Sew for 30 is a recycled project.  I had made Simplicity 1881 - the dress on the left a few years ago and always felt like I was wearing a circus tent.  I really liked the dot print and couldn't bear to throw it out, so I decided to remake the dress into something new.  Here is McCall's 6745 on the right - with a gathered skirt rather than the pleated skirt as seen on the pattern envelope.


The old dress was trimmed in this colorful piping - which I reused on the new dress too.  I still had some of the original green linen in the stash that I used on the first dress so I used it for the halter portion, paired with some black cotton from the stash for the waistband.

Back view.  It's a simple halter top with a regular zipper.  I didn't have an invisible zipper in the stash that matched, so I just opted for a regular zipper.

The straps have pant hooks and eyes at the back neck.  I find pant hooks to be much more comfortable against the neck when compared to smaller hooks and eyes.

I added a fun stacked button on the outside of the top strap.

Now that the dress is completed, I'm not sure which version I actually like better.  I'm leaning towards the first version more I think.  Anyways, it's too late to change it again as I'm thrown out the top portion to the old dress so I guess I'm sticking with the new one!  Even if I only wear it a few times, it will be worth it.


The top halter portion adds to the stashbustin' quest too!

Total yardage for the new top portion = 1 yard
YTD total = 84.625 yards

Happy sewing everyone!
Star


Saturday, February 6, 2016

Burda "French" Skirt with Godet

This skirt is from the Burda Magazine - August 2012 issue - #112.  I call it my "French" skirt because I remember this issue of the magazine was focusing on French style at the time. I've made this skirt twice before using a plain black wool and a woven plaid wool.  This version however, has been lurking in the closet as a UFO in the project bin for quite awhile.


I'm not sure why it took me so long to finish because I found the perfect piece of jewelry to compliment it a few years ago.... I mean really - could a necklace match better than this with all of those different colors??


The skirt is fully lined.  I used a plain black rayon lining on this one so nothing fancy this time to show on the inside.

I bought the "fabric" from a thrift store and at the time, it was a women's jumpsuit.  Here's the right side of the fabric - rather boring I think...


When I looked at the inside of the jumpsuit - this is what the wrong side looked like - much, much more interesting.  

There are so many colors in the skirt, the color pairing options are endless.  Here it is with a purple sweater and McCall's 6844 cardigan.

The skirt pattern is a variation on a pencil skirt.  You can see from the back the pencil shape.  The godet added to the front gives it more room to move than the average pencil skirt.  


I decided to cut the godet fabric against the grainline to add a little more interest.  Sorry - it's a bit wrinkly but this is after wearing it all day at work. 


I made this skirt about 2 inches shorter than my other two versions.  Here's a comparison of all three skirts.  Black one is a bit wrinkly from being smashed in the closet....


 On the plaid skirt, I used a reverse on the godet portion too.

Voila!  Another completed alien!!

I'm counting this towards the stashbustin total too.  Total guesstimate on the yardage is 1.5 for the skirt and 1.5 for the lining = 3 yards total for the skirt.  This brings the YTD total to 7.375 yards.  A bit of a slow start to the year, but I'm getting there.

That's it for now.
Happy Sewing everyone!
Star


Wednesday, March 19, 2014

March Sweatshirt Challenge Project

The topic for our March ASG meeting this month is sweatshirt makeovers.  This ties in perfectly with my recent closet clean-out project too!  In my quest to clear up some space, I came across this oversized fleece top I've had for awhile, but haven't worn so this was going to be the perfect starting point.

As you can see, it started out as a pretty boring sweatshirt. Way too big and lacking style.

Front view
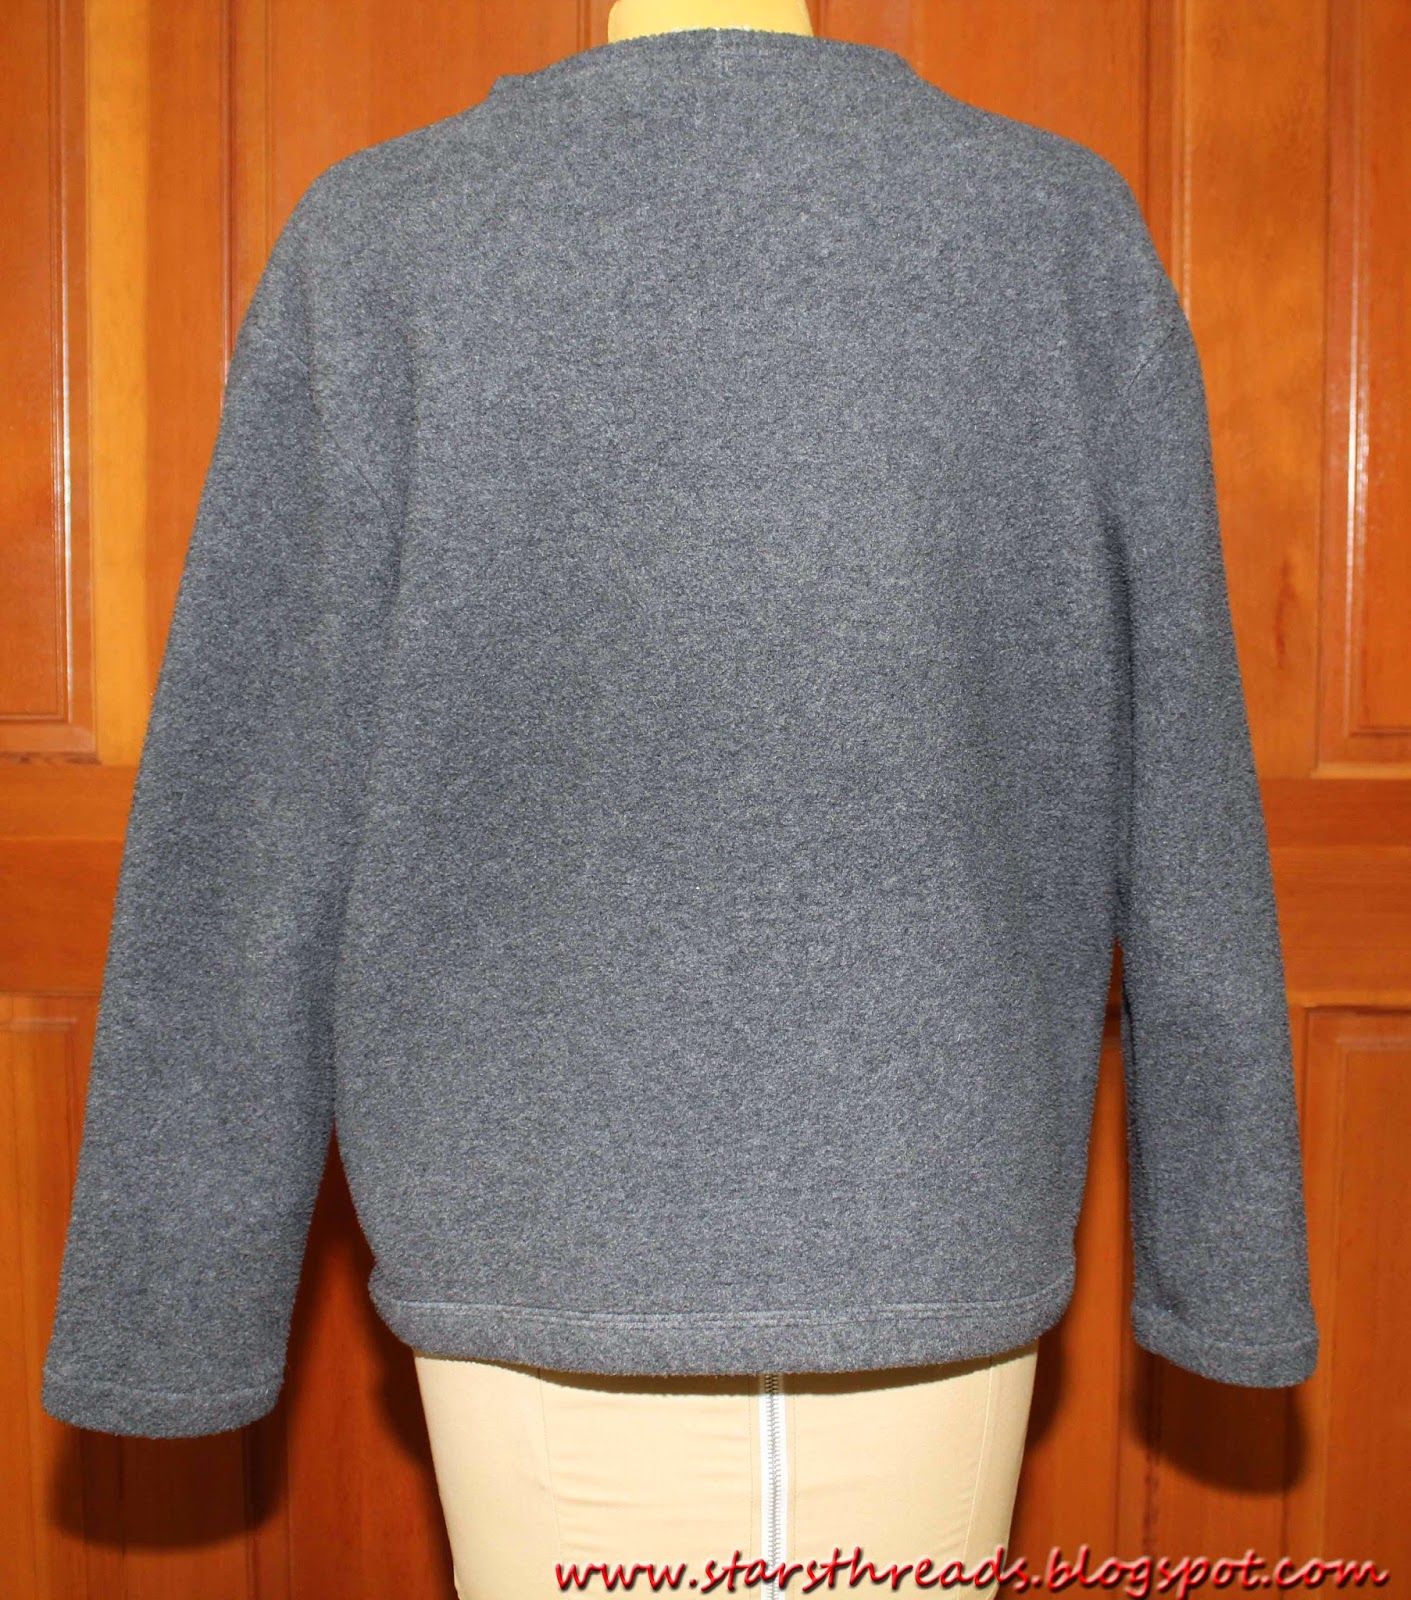
Back view

Next, I starting gathering a bunch of potential candidates to assist in the makeover.  I had felted sweaters, various fabric pieces both knit and woven and a bunch of trims.  After trying various combinations of the items below, I finally settled on the felted sweater in the top left of the picture below.


I was so engrossed in the makeover project, that I forgot to take pictures of the starting sweater so I've used the one below as an example.  

After removing the collar from the sweatshirt, I cut the felted sweater along the red lines indicated below, being sure to keep one of the side seams intact. Then, I started draping and folding the sweatshirt to see what it wanted to become.  

The back was way, way too big, so I pinned in some darts.  One along the center back line and two about two inches apart from that.  I didn't like just the look of just straight darts so I flared out the bottoms of the two outside darts.  Each dart was a fold of 1 inch, therefore taking up a total of 6 inches in the back.


Now I had another 6 inches in the front to take out.  The sweatshirt seemed to naturally fold at an angle, so I decided to go with that.  I pinned on a zipper, and started draping the lower portion of the felted sweater to become the collar.  I pinned on some leftover zippers along the edge of the collar and liked the look of that but it was still missing something.  I found these large plastic buttons in my button stash the pinned them along the edge of the collar too - perfect!

The bottom portion of the sleeves are from the top front and back of the felted sweater.  They seemed to work perfectly for this new purpose.

The pocket is a piece cut from the turtleneck of the felted sweater.

After an afternoon of sewing, cutting and contemplating, here's the finished product!  Pretty snazzy if I do say so myself!  The collar gave me a little bit of hassle but after a 15 minute break to clear the mind, I finally figured out how to get it to work.

The darts in the back stuck out too much when I first sewed them so I decided to fold them flat and sew down the middle of each one.  I really like how they turned out.


Until next time, 
Happy Sewing!

Thursday, January 2, 2014

Plastic Bag Coat

This is my official request for some rain in Northern California.  We desperately need some.  With the thoughts of a drought on the horizon and no clouds in sight (and me on my own well), I thought I would make a public appeal by posting my upcycled raincoat made from plastic bags.  Maybe this will make Mother Nature change her mind and send us some rain.

Another day of sunshine and no rain in the forecast for the next 7 days!
This is a Linda MacPhee pattern #465 - Bag Lady Jacket.  It's made from plastic bags sewn to a fabric base.  I've been collecting plastic bags from various vacations over the last 10+ years and decided I finally had enough to make the jacket. 

On the right front and sleeve I have:

- Powell's books (Portland, Oregon)
- Buckingham Palace (London, UK)
- Die Welt (German Newspaper)
- Empire State Building (NY, NY)
- Button & Needlework Boutique (Victoria, B.C.)
- Wenger (Interlaken, Switzerland)
- Apple (Cupertino, CA)
- Ace Cafe (London, UK)
- Vogue Fabrics (Sewing Expo, Puyallup, Washington)
- Biodome (Montreal, Canada)
- Gift shop bag (Sylt, Germany)


On the left front and sleeve I have:
- Creative Memories (scrapbooking supplies)
- Satin Moon Quilt Shop (Victoria, B.C.)
- English Heritage (gift shop in the UK - various locations)
- KaDeWe (Department store in Berlin, Germany)
- Peek & Cloppenburg (Department store in Germany)
- H & M (London, UK - before they opened stores in the US)
- Marrimekko (Seattle, WA)
- MASH (England - can't remember the village)
- Koln Cathedral (Cologne, Germany)
- Jelly Belly (Vacaville, CA)
- Next (London, UK)


Back and Hood:

- Orvis (Roseville, CA)
- Pendleton (Seattle, WA)
- Tillamook Cheese (Tillamook Factory, Oregon)
- idee (Wonderful fabric store in Berlin, Germany - associated with the KaDeWe department store)
- KaDeWe (Berlin, Germany)
- IKEA (Berkeley, CA)
- 4711 (Cologne, Germany)
- Porthcurno Telegraph Museum (Porthcurno, Cornwall, England)


The inside is a cotton print I found on e-bay with Umbrellas printed on it.  Black and white collar and trim next to the zipper and on hood is a cotton from my stash.  


To construct the jacket - cut each bag into single layer pieces.  These pieces are then sewn onto backing fabric to give them some weight and stability - I used scraps of cotton or muslin from my stash.  If you are using a print for the backing fabric, be sure that the backing fabric doesn't show thru the plastic to the front, unless that is the look you are trying to achieve.

Once all of the bag pieces are finished, start arranging your bags according to where you would like them placed on the jacket.  Next, sew the bags to each other.  I opted to topstitch each bag as well.

Next, using the pattern pieces, cut out your jacket from the bag fabric and construct as you would a normal jacket.   Instead of doing a traditional lining with no selvedge edges showing on the inside, I just opted to back my finished pieces with the lining fabric and sew all at one time.   Make the collar and hood, add the zipper and ta da!  You are done!

Of course the pattern itself will give you more detailed instructions than I have here.  This is just meant as a  quick overview.  The jacket did take awhile to construct, and it is fairly heavy with all of those layers.

There has got to be some rain out there somewhere!

A few things to keep in mind when making your own jacket.  If you have a very flimsy plastic bag - do not put it on an area that will get alot of wear and tear - such as the shoulder area.  My Powell's bag is on the shoulder and I'm afraid my purse strap might cause it to rip.  Of course if that does happen, you can just get out some clear packing tape and tape it back together!

Another consideration - my Buckingham Palace bag said it is biodegradable.  So one day, I might try to wear my jacket and that bag will have disappeared!  Let's hope that takes awhile though - for my jacket's sake!


Last appeal!  Please send us some rain!

Happy Sewing!

Tuesday, July 2, 2013

Anthropologie Inspired Pants Alteration


I love shopping at Anthropologie just to get ideas.  I am inspired by their fearless use of materials, prints and trims that sometimes makes my sewing mind just cringe at the thought - "You can't pair that fabric with that trim, it's just not right".  But Anthropologie frees you from the sewing rules of yesterday and gives you the power to say "Yes you can" and it looks great!  So I thought I would give their style of fabric mixology a try and here's what I came up with. 
 
I decided to experiment on a pair of lined wool tweed pants I picked up at my local Salvation Army a few years ago. Yes, they have been hanging on my "to do" rack for quite awhile just waiting for the right bit of inspiration.  I starting looking thru my scrap box to see what I could find that would compliment the black and white tweed.   I found a leftover wool sleeve with a herringbone pattern and a piece of a pant hem from a prior alteration. These would be perfect! 


The pants already had in-seam pockets in the front, but I wanted to highlight them a little.  I measured the length of the pocket and designed a flap that would work. A picture of the pattern for the flap and the back pocket is below with seam allowances added.

 
I also made a tagboard template of the pocket without seam allowances.  Tagboard templates are very helpful when you need to sew curves and points.  Simply pin (or hold if you can) the template in place and sew right next to the edge of the template.  This way you aren't guessing where you should stop for the point of the flap and both sides will turn out perfectly. 
 
 
After making 4 pocket flaps with buttonholes and two lined pockets, it was time to sew them on!  The front flaps weren't behaving well under the machine so I ended up finishing them by hand in order for them to lay correctly. 

Sew on the back pockets, add the flaps and finish them off with handmade clay buttons and Voila!  A nice pair of wool lined pants with a little "Anthropologie" flair to them. 


I hope these pants will inspire you to create your own version of Anthropologie Inspired Pants. 

Happy sewing!


Monday, July 1, 2013

Upcycled Christmas Tree Garland

How to create a Christmas Tree Garland from felted sweaters.

 
Start with a few previously felted sweaters. I used 3 sweaters for this garland.


Cut out two circles from cardstock or tagboard to use as a template.  I used a 1.5 inch circle for the outer circle and a 1 inch circle for the inner.  Use this template to cut out lots and lots of circles from the felted sweaters.  I kept these circles in glass jars until I was ready to start sewing.  This is a great mindless project to do in front of the t.v. 


Next, decide on what color thread you would like to sew the garland together.  I chose a red, polyester thread.  A topstitching thread would be a great choice as well.  Then, line up your circles edge to edge and start sewing them together in a continuous line.  I like to stack a small circle on a large circle to add a little more color, but you don't have to.  Just simply line up the circles assembly line style and sew them together in a straight line. 


Note: you may need to slightly lift up the presser foot to accommodate the increased thickness of two circles.


The finished product!  Since it's July at the moment, I don't have a Christmas tree up so I decided to use one of the bushes in my front yard as a model.  Can't wait to see what it looks like on the Christmas Tree this year!


Happy Sewing!